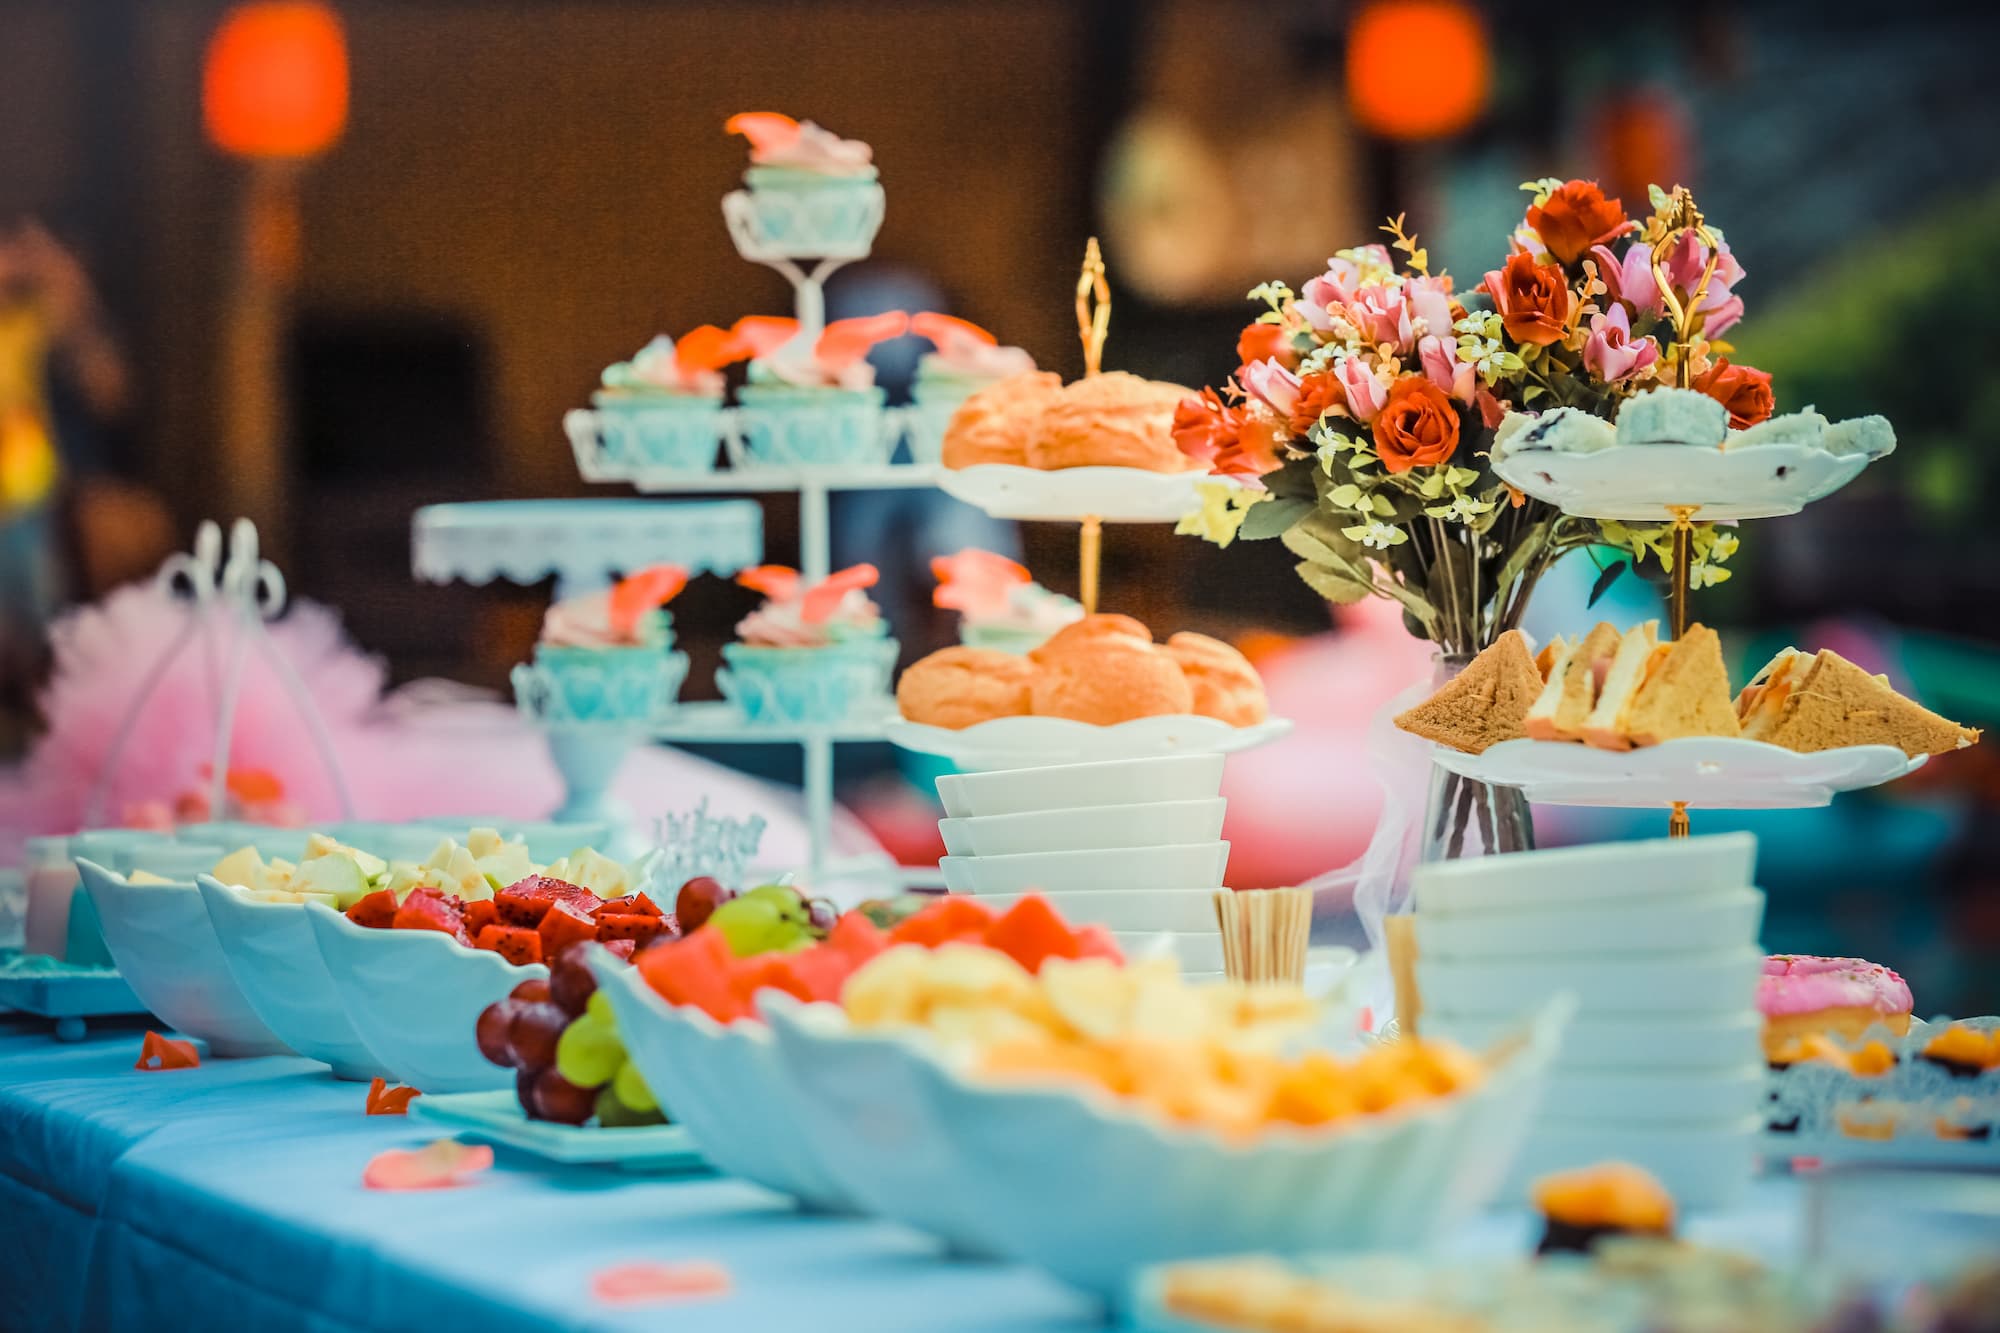
It’s a well-known truth – if you want to create unique desserts, decorate them with unique cream decorations. A special tool – disposable and silicone reusable pastry bags – can help make it easy and simple. To achieve a bright effect, you need to know how to use a pastry bag, and have a sufficient arsenal of nozzles. Then the result will justify the boldest expectations.
How to put nozzles on a pastry bag
Beginners often wonder whether it is necessary to use an adapter before putting on the nozzles on the pastry bag. It depends on the purpose of the application:
- if you’re using one color of cream, you can take the nozzles without a special adapter, putting them directly on the cornet cut;
- If you use several colors or nozzles (you create decorations of different shapes), you need to use an adapter.
Such adapters are usually included in the kit in such variations:
- standard – universal, for decor;
- large – for nozzles used in decorating cupcakes.
Install the nozzle and replace it on the fixed adapter is very easy.
How to use the nozzles
Figuring out how to properly use a pastry bag, you should first of all become familiar with the specialization of different nozzles. There are a number of techniques that allow you to create beautiful flowers, spectacular waves and other decorative elements. Let’s consider them in more detail:
Round tubes allow you to achieve the following results:
- dot patterns, a variety of ornaments and inscriptions are made from smooth round tubes with a minimum diameter;
- mushroom stems made of cream or meringue are deposited from nozzles with a medium diameter;
- the filling of profiteroles and eclairs, the creation of custard buns is done using products with a maximum diameter.
Carved tubes are used to create quite original and interesting decorations:
- fixtures with a small diameter allow you to create subtle, detailed patterns with the use of buttercream: so you get basket weaving, small flowers, elegant ornaments;
- Medium sizes are needed for decorating cakes with ornaments;
- The larger sizes are for whipped cream or whipped cream.
Here’s how to work with a pastry bag to form rosettes and beautiful waves with carved tubes:
- Rosettes are created by squeezing the cream in a circle; several of these rosettes make wavy ribbons;
- Waves are created by raising the tip of the nozzle directly while squeezing, after which, continuing to press, the tip is lowered to the same height again – such movements are repeated in a circle.
Floral decorations are created in several ways:
- using the nozzles “magnolia”, “rose”, “buds” you can create florets or openwork waves;
- it is possible to create a detailed flower with leaves, for which firstly the pre-created or purchased leaves are collected with a pastry clove, then the prepared petals or the whole flower from buttercream are put on top one by one. For the creation of the composition to be successful, it is better to hold the blanks for a while in the freezer. So they will not lose their shape when assembled.
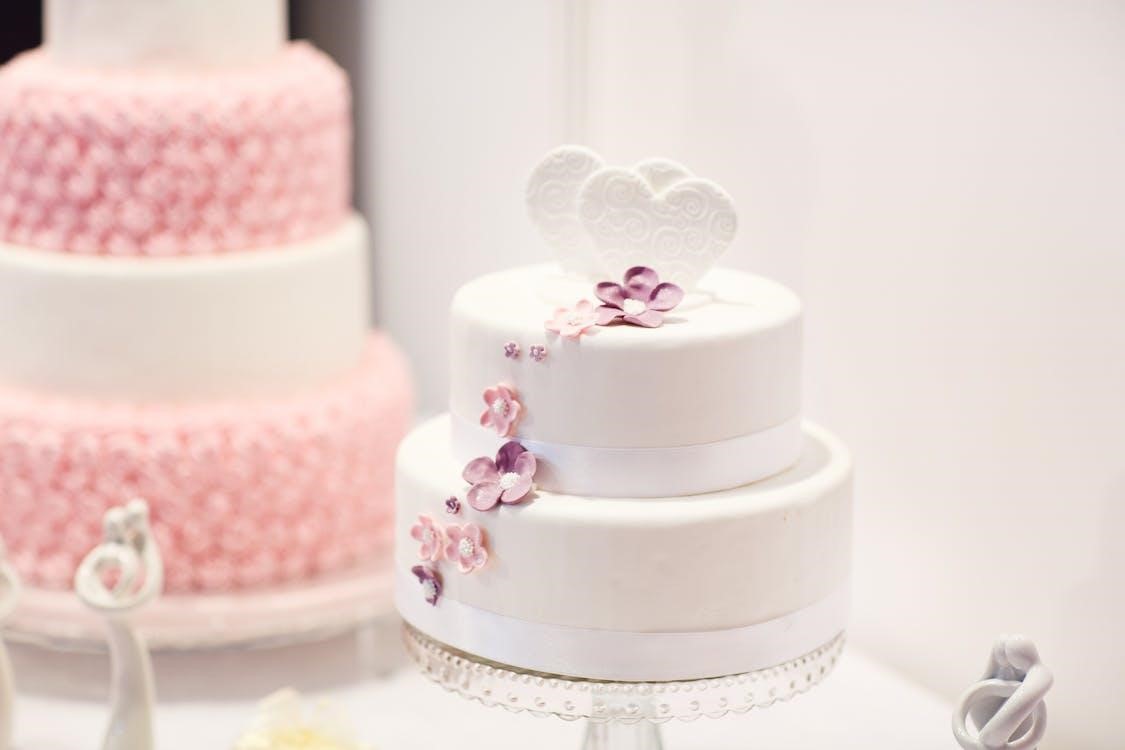
Excellent decorations are obtained by combining the cream and marzipan decorations. You will need marzipan for this, the recipe for which you will also find on our blog.
How to use a disposable pastry bag when decorating baked goods:
Prepare the cream according to the recipe that works best for you. It can be protein or butter cream.
Choose a cornet of the desired volume, unfold the edges, holding it with your hand at the bottom and turning the edges outward. You can dip the bottom of the container into a tall glass, and turn the top outward around its walls.
It remains to place the nozzle and fill the bag with the cream mass. You need to close the edges, run your hand down the bag to remove the air bubbles and displace the mass to the spout. Secure the sealed edges with a special ring or a rubber band.
How to hold a pastry bag correctly: it depends on its size. Large cornets are held with two hands. Smaller models with one hand.
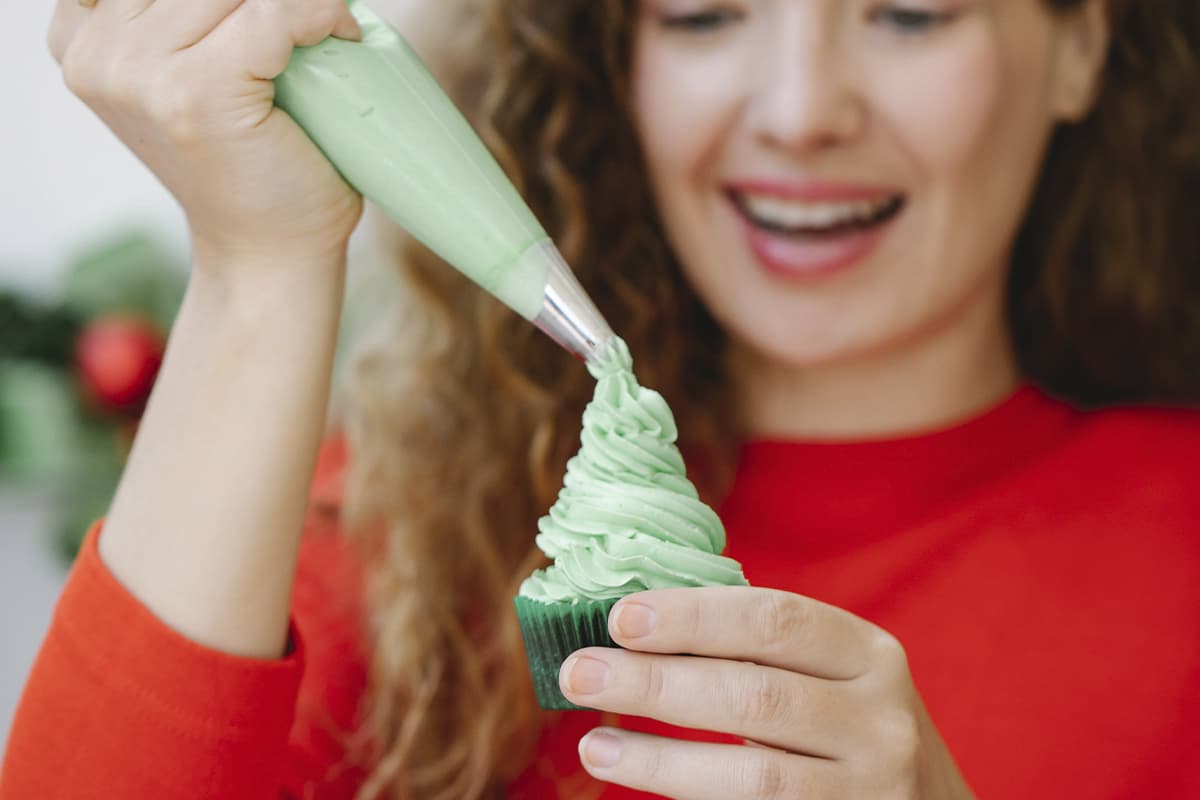
How to draw with a pastry bag: lead the tip smoothly, squeezing the cream evenly. When finished, stop pressing and sharply point the end away from you along the pattern. When creating a three-dimensional shape, swipe the tip slightly downward and immediately bring it up sharply. This is how you get an even, creamy ball.
Conclusions
Before proceeding to the responsible stages of decoration, it is better to practice on less important products. Having learned to perform rather simple operations, you will be able to realize your fantasies more boldly.
The materials of our blog help you to master the basics of pastry making, as well as learn how to make new dishes. For example, we tell you how to make macaroons, light French desserts, ice cream and a variety of pastries.