While mastic and cream coating of desserts is firmly established in the category of classic types of decoration, chocolate velour is still a novelty, alluring with its uncommon, exquisite and rich appearance. Many confectioners are still hesitant to look at this decoration, because it seems that only a real professional can create such a refined and unusual decoration. In fact, almost anyone can make a chocolate velour decoration, even on the first try! The main thing is to know the right recipe and to get hold of special tools.
What is chocolate velour, you can understand by looking at the finished product. This decorative coating on the structure resembles a soft, velvety fabric, because of which it is called velour. It is made from a mixture of melted chocolate, vegetable oil (often cocoa) and dyes, and applied with special equipment. Most often for this use paint sprayer – a tool that sprays paint under pressure. A confectionary airbrush has a similar working principle, but it gives a thinner and less textured coating. Important: the diameter of the nozzle for working with velour at the paint sprayer or airbrush should be 2,5-3 mm; the bigger the nozzle, the thicker the layer of velour will be.
Is it possible to create velour without a spray gun or airbrush? Yes. A good alternative can be confectionary spray velour. With its help, you can achieve almost the same effect as using special tools, and it is much easier to use the spray – the process is no different from painting products with regular spray paint. One can of velour spray is enough for about five cakes. This is ideal for amateur pastry chefs who need this kind of decor occasionally.
As we have already said, the work with velour does not require extremely high skill. However, there is no way it can be done “hollowly”, especially if you make the coating mixture yourself and apply it with a spray gun/aerograf, rather than using a spray with ready-made chocolate velour.
How do you make a coating of velour on a cake from scratch? The first thing to do is to prepare the chocolate mixture:
- Prepare the ingredients. Take chocolate and cocoa butter in equal proportions (about 60 grams each for a medium-sized cake). It is desirable to use a special confectionery chocolate, with natural quality composition. For further coloring, take white chocolate, and for a natural color – black or milk. For dyeing in light colors, you can take gel dyes, in dark colors – only fat-soluble dyes.
- Melt the chocolate and cocoa butter in the microwave (on impulse) or in a water bath. Important: Melt the ingredients separately, since they melt at different temperatures.
- 3. Mix the chocolate and cocoa butter, add the coloring agent, if needed, and mix everything with an immersion blender (you can do this directly in the flask of the blender).
- Cool the mixture to a working temperature of 30-40 ° C and immediately begin spraying.
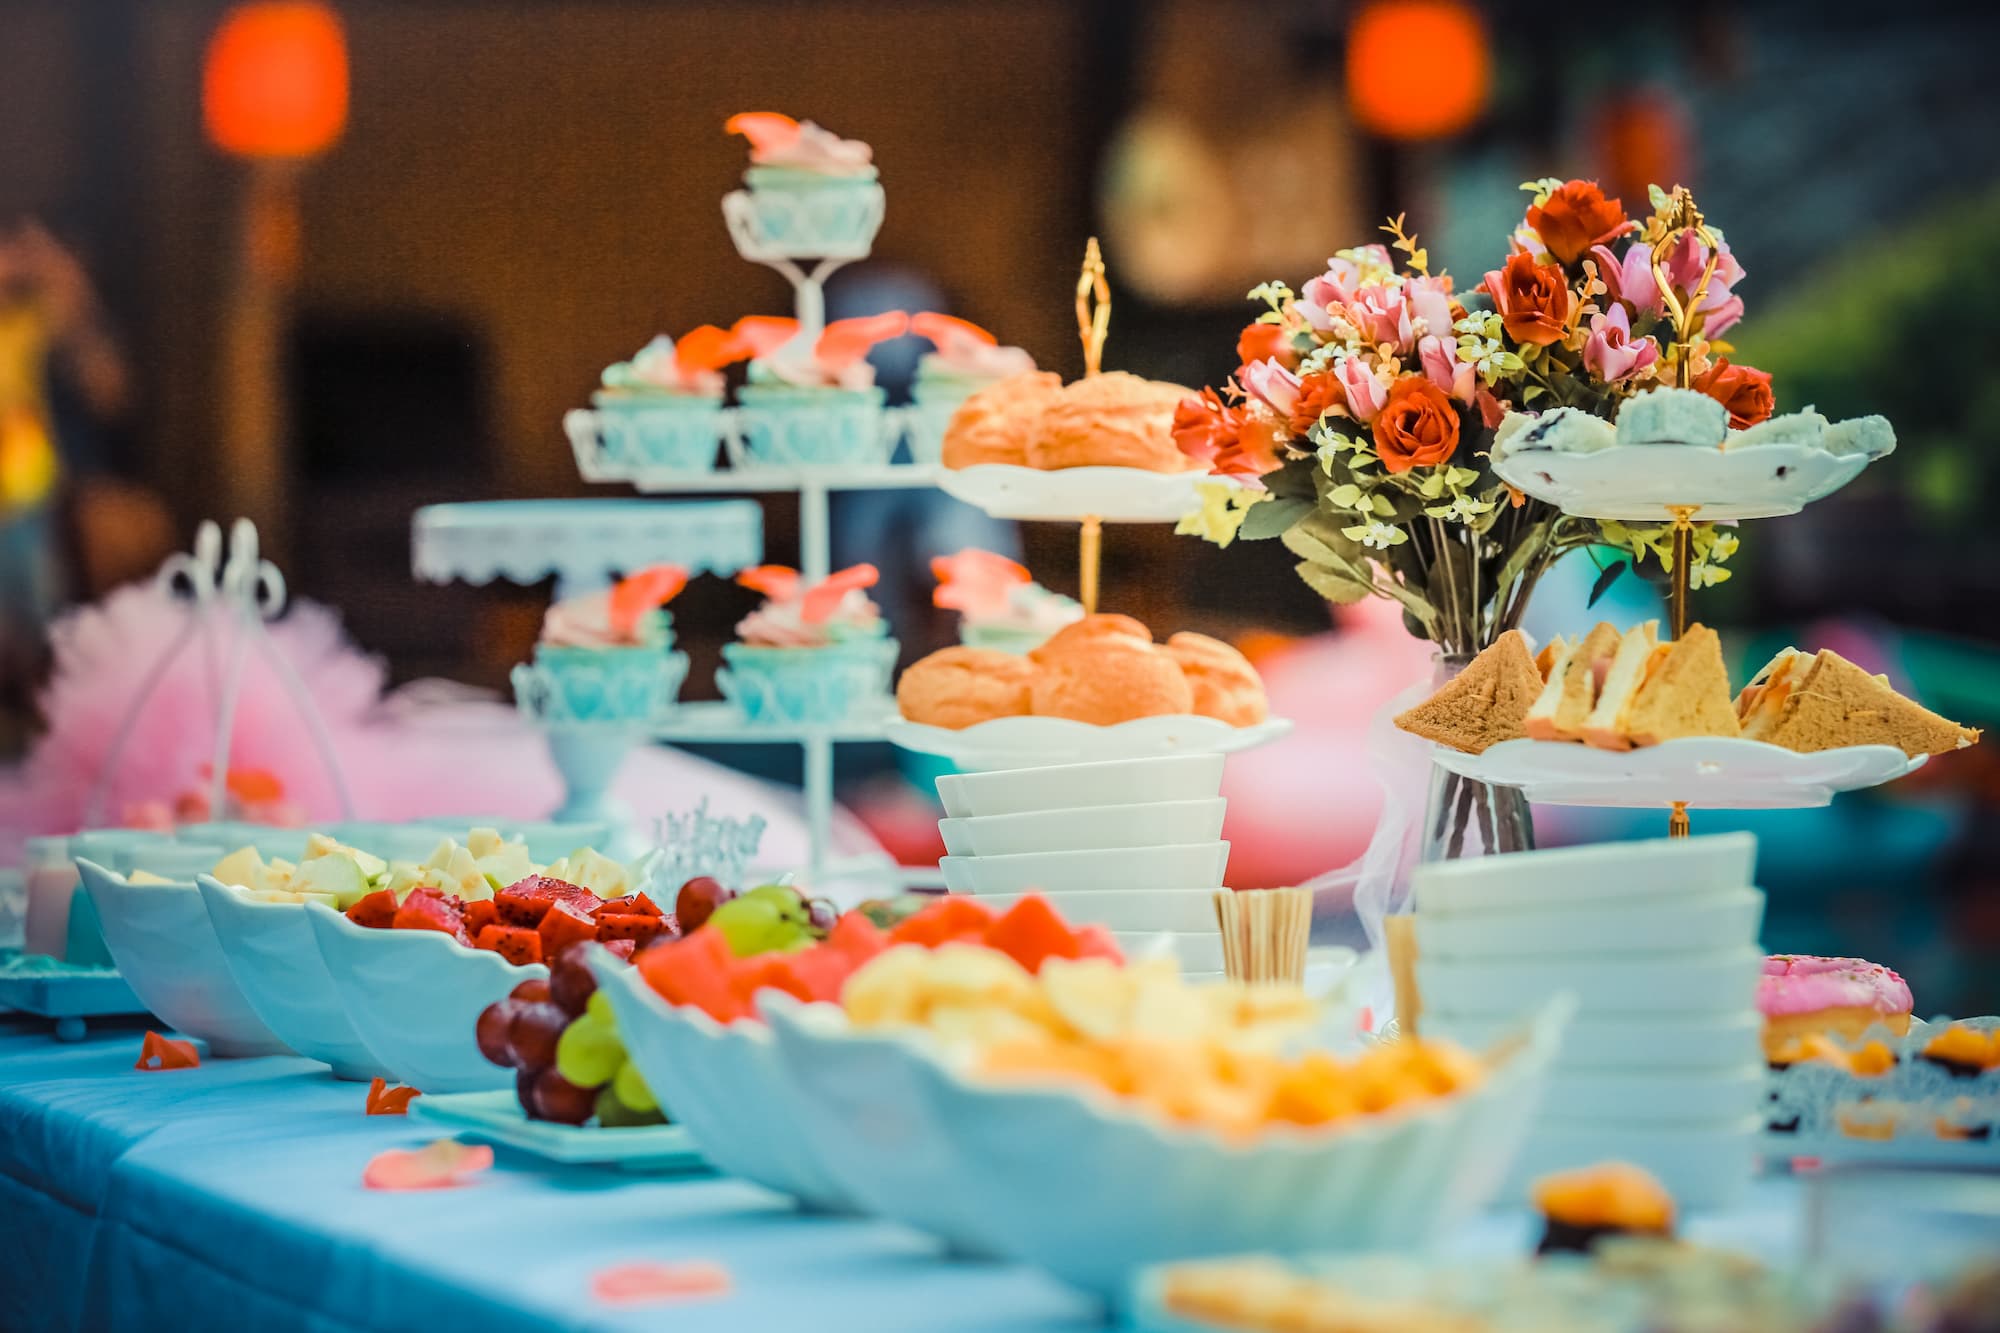
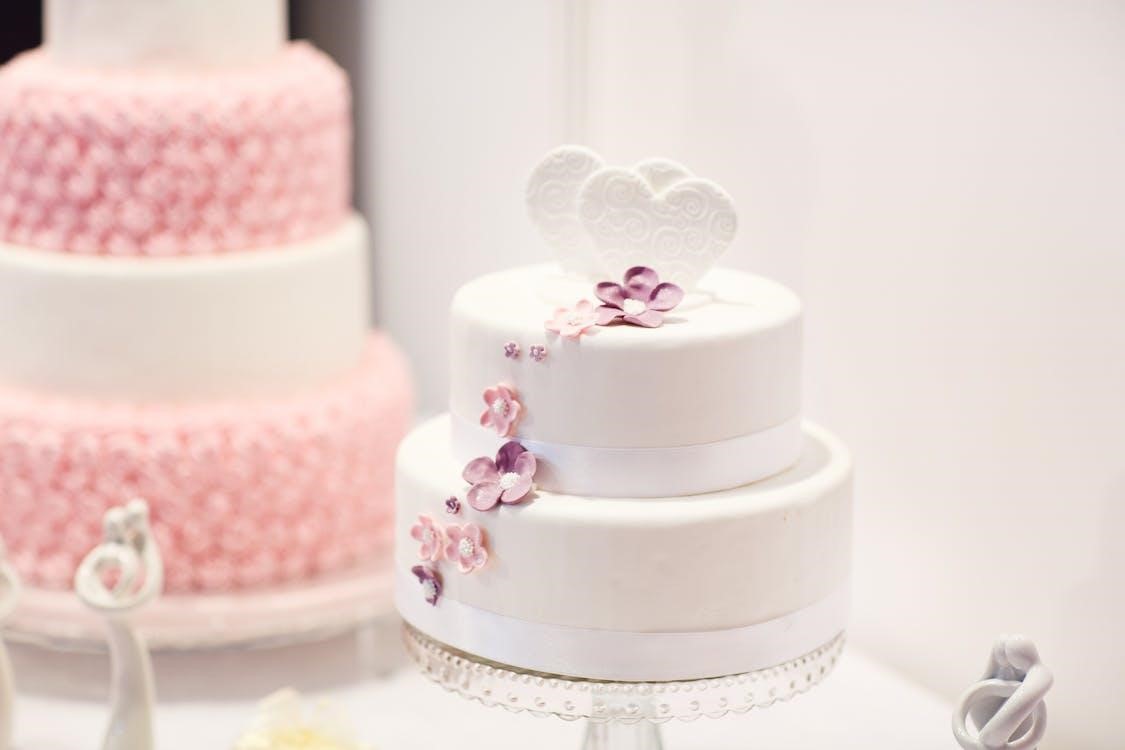
You can coat biscuits with and without cream, shortbread cakes, chocolate bars and sweets, and cakes with velour. But the velour covering looks especially effective on mousse cakes of unusual shapes, which are made using special silicone forms for baking.
Before covering a cake with velour at home, it is very important to pre-cool the dessert in the refrigerator, or even better – freeze. Prepare a tool, a chocolate mass for covering, a cardboard box or other place where you will spray chocolate (it will be difficult to wash greasy drops from an unprotected surface), and only then take the cake out of the fridge and immediately start covering it. If you hesitate, there will be condensation on the dessert and the velour will not be perfect.
Spray the composition at a distance of about 20 cm, gently scrolling the cake on the stand to distribute the chocolate evenly. If using spray velour, follow the same principles of preparing the workplace and the dessert and applying the composition. Don’t forget to shake the can before applying